Are you looking to add a pop of color to your garden? One of the easiest ways to do this is by getting creative with pot painting ideas. Whether you’re a seasoned gardener or just starting out, painting your garden pots can be a fun and simple DIY project that will breathe new life into your outdoor space. In this article, we’ll explore some creative pot painting ideas to help you transform your garden into a vibrant and colorful oasis.
Choosing the Right Pots
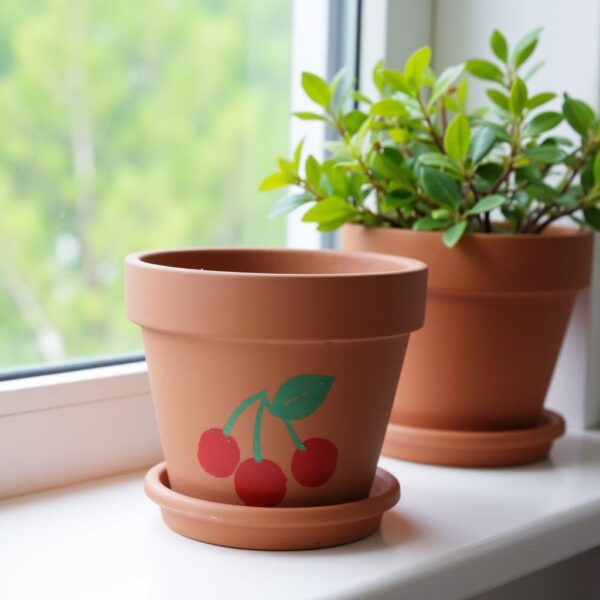
Before you start painting your garden pots, it’s important to choose the right ones. Terra cotta pots are a popular choice for painting, as their porous nature allows the paint to adhere easily. You can also opt for plastic pots, metal pots, or even ceramic pots, depending on your preference. Make sure to clean and dry your pots thoroughly before you begin painting to ensure that the paint sticks properly.
Prepping Your Pots
Once you have chosen your pots, it’s time to prep them for painting. Start by lightly sanding the surface of the pot to create a rough texture that will help the paint adhere better. You can also use a primer to seal the surface and prevent the paint from peeling or chipping over time. Make sure to let the primer dry completely before you start painting to achieve the best results.

Creative Painting Techniques
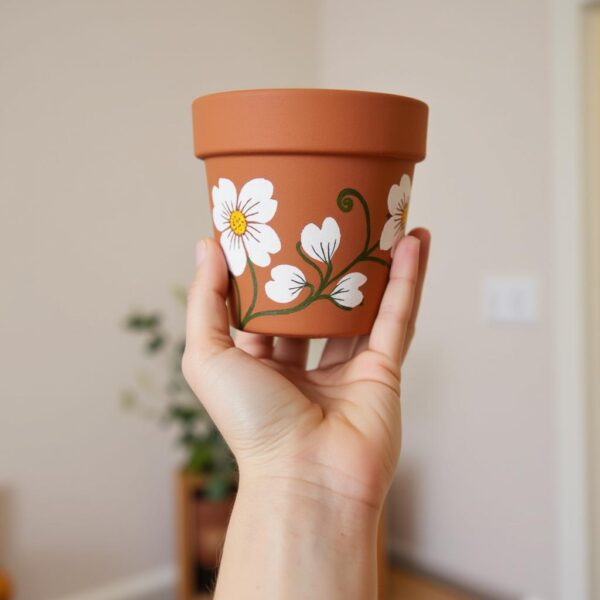
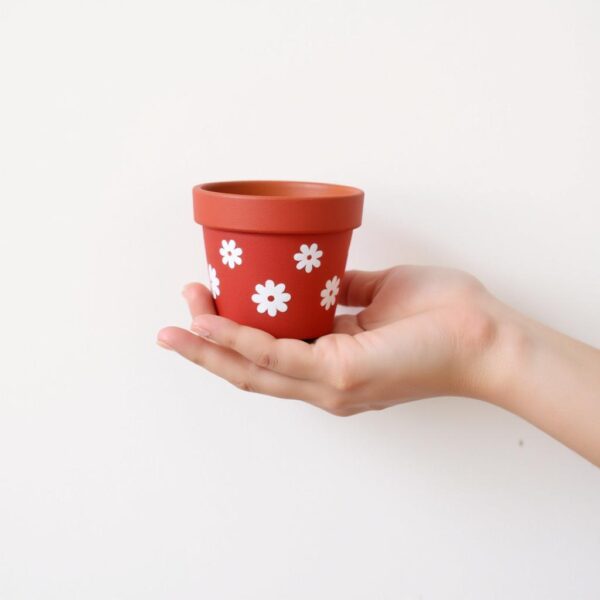
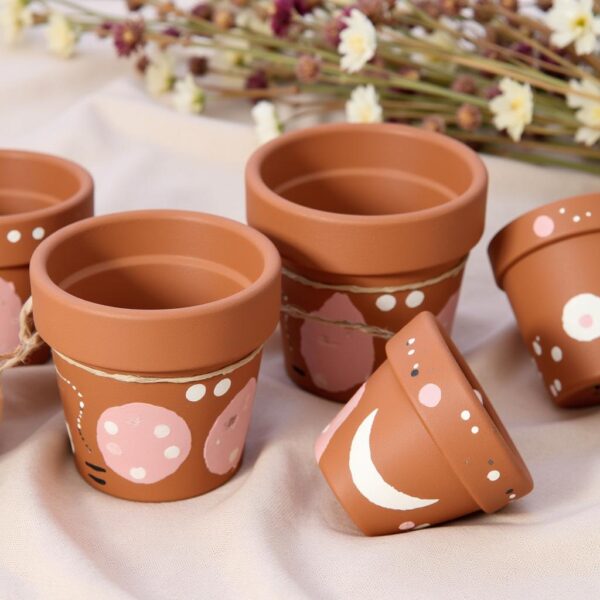
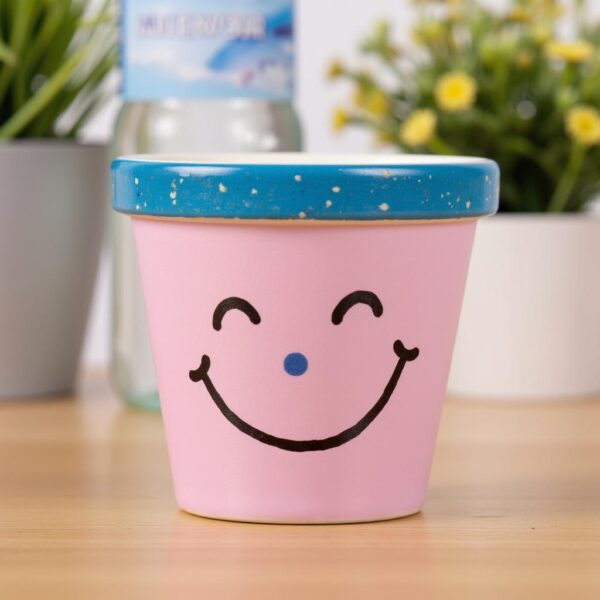
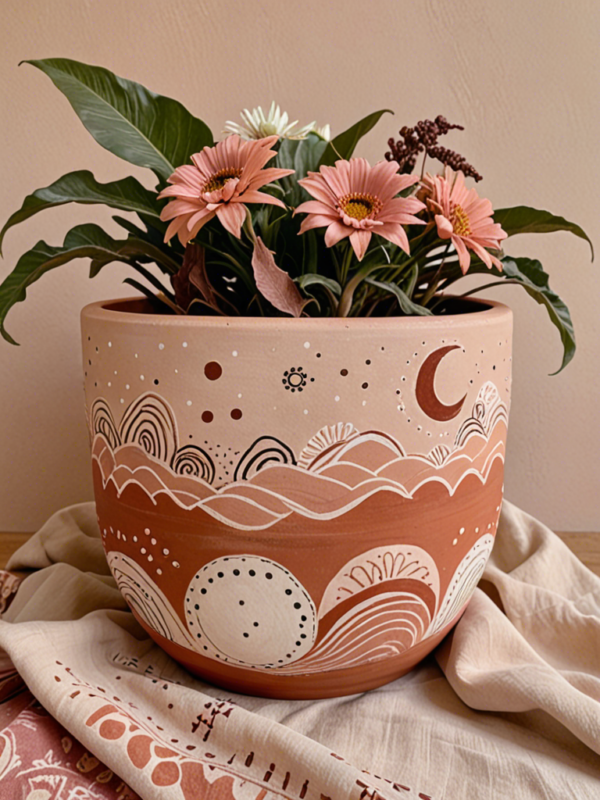
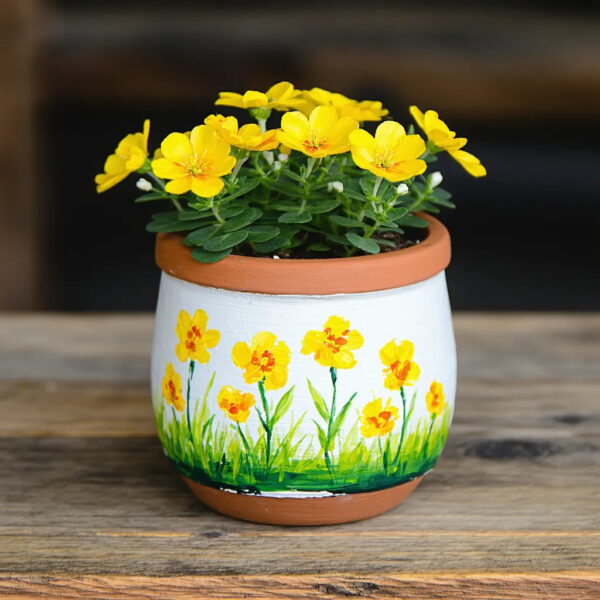
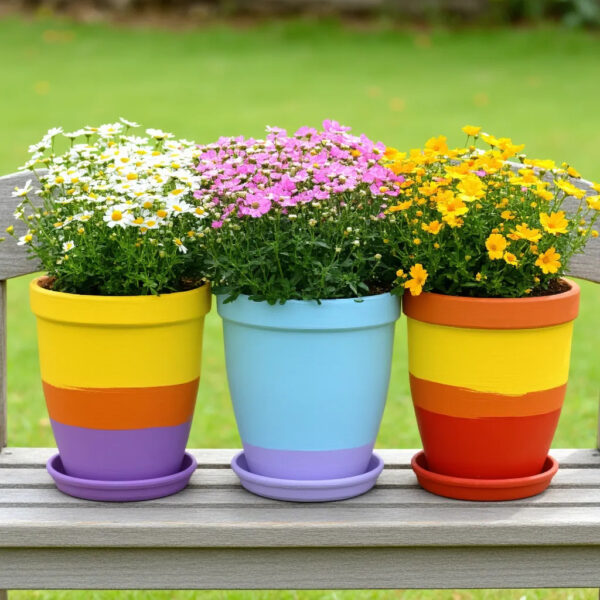
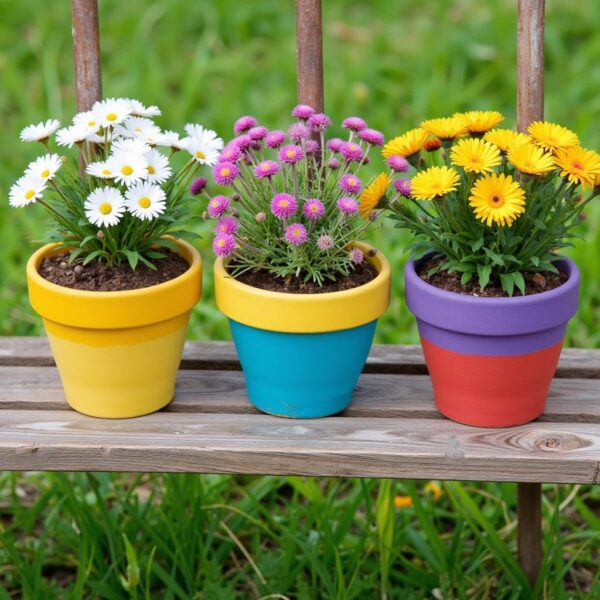
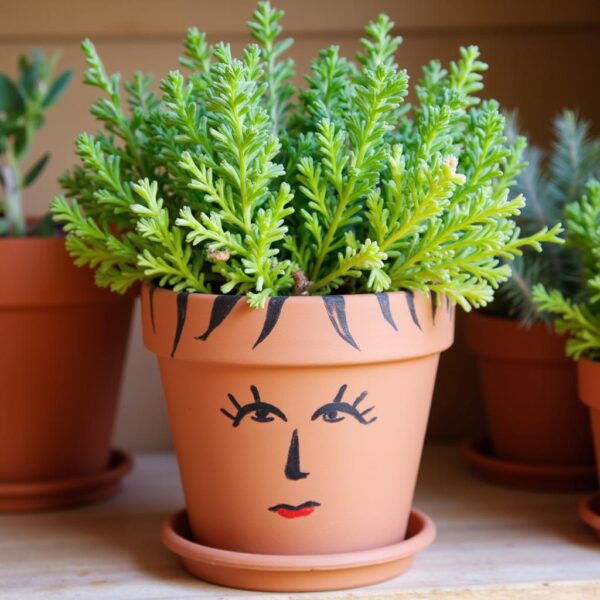
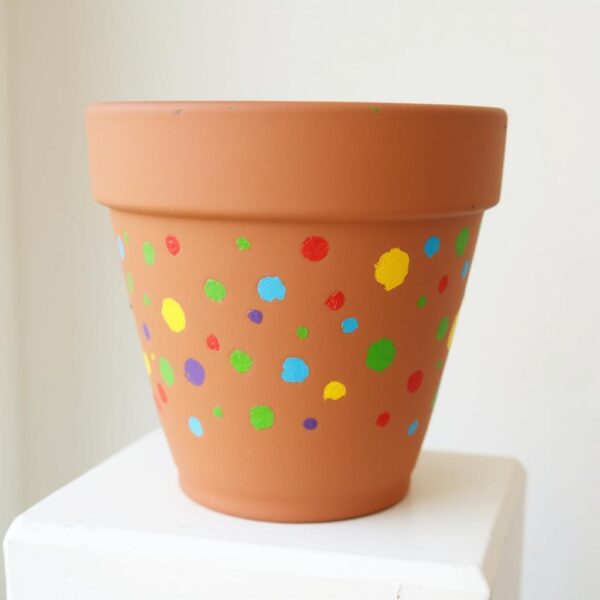
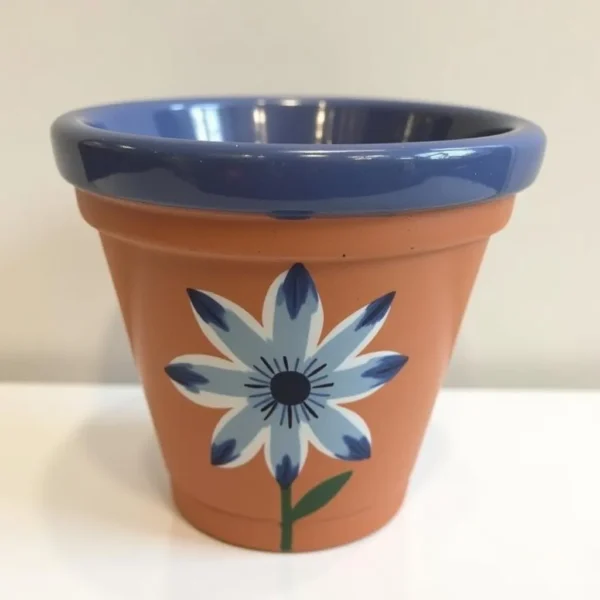
Now comes the fun part – painting your garden pots! There are endless possibilities when it comes to pot painting ideas, so don’t be afraid to get creative. You can use stencils to create intricate designs, dip your pots in paint for a marbled effect, or even try your hand at freehand painting for a more artistic look. Experiment with different colors, patterns, and textures to find a style that suits your garden’s aesthetic.
Sealing the Paint
Once you have finished painting your garden pots, it’s important to seal the paint to protect it from the elements. You can use a clear acrylic sealer to give your pots a glossy finish and prevent the paint from fading in the sun or getting damaged by water. Make sure to apply the sealer in a well-ventilated area and let it dry completely before placing your pots outside.
Conclusion
Adding a touch of color to your garden has never been easier with these creative pot painting ideas. Whether you’re a novice painter or a seasoned artist, there are endless possibilities to explore when it comes to decorating your garden pots. So grab your paintbrushes, unleash your creativity, and watch as your garden transforms into a colorful paradise!
FAQs
1. Can I paint my pots with regular acrylic paint?
Yes, you can use regular acrylic paint for your pot painting projects. Just make sure to seal the paint with a clear acrylic sealer to protect it from the elements.
2. How long does it take for the paint to dry on garden pots?
The drying time for paint on garden pots can vary depending on the type of paint used and the humidity levels in your area. Generally, it can take anywhere from a few hours to a day for the paint to dry completely.
3. Can I repaint my garden pots if I don’t like the initial design?
Yes, you can always repaint your garden pots if you’re not happy with the initial design. Simply sand down the old paint, clean the pot, and start over with a new design.
4. What are some creative design ideas for pot painting?
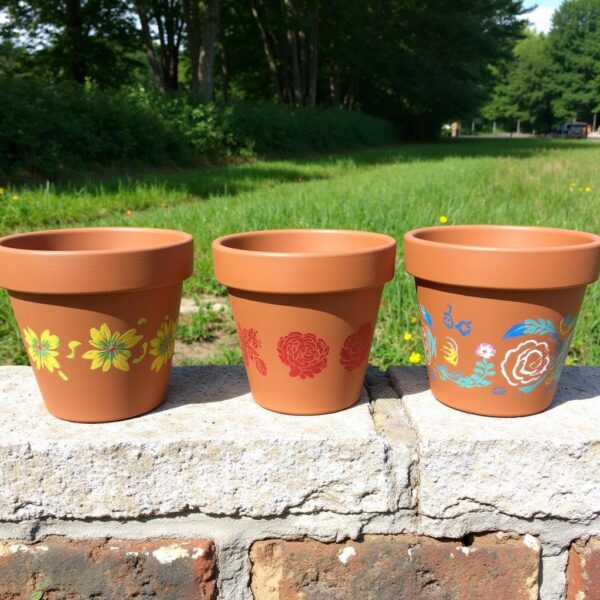
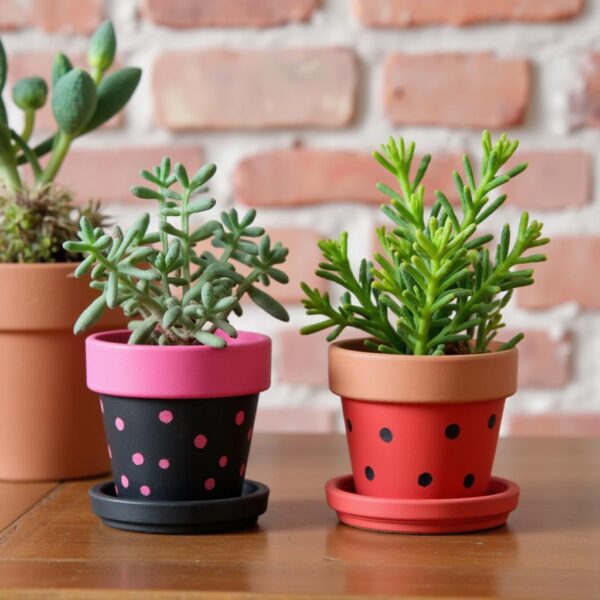
Some creative design ideas for pot painting include geometric patterns, floral motifs, abstract designs, and ombre effects. Let your imagination run wild and experiment with different styles to find what suits your taste.
5. Are there any special techniques for painting ceramic pots?
When painting ceramic pots, it’s best to use a primer specifically designed for ceramic surfaces to ensure that the paint adheres properly. Additionally, be sure to let each layer of paint dry completely before applying the next one for the best results.


")