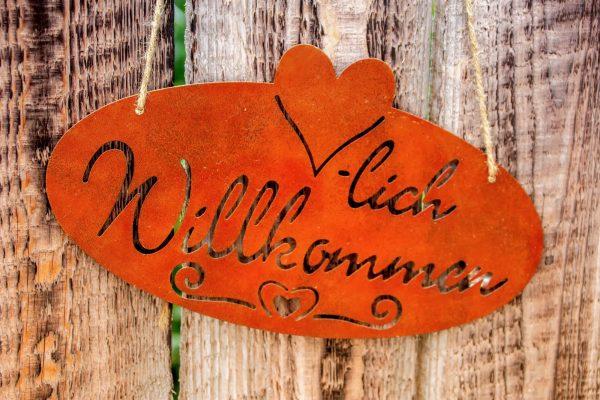
Learn some tips for DIY wood engraving. We’ll tell you what kinds of wood are good for fine details, recommend a good carving depth, and more. Whether you’re looking for a way to personalize your home or for special gift ideas, DIY wood engraving is the perfect solution. Keep reading to learn how to get started.
Select Your Wood
With hundreds of types of woods available to at-home carvers, you want to choose one based on the type of work you’re doing. A block of softer wood is ideal for whittlers and those doing smaller hand-carved pieces while a harder wood with a more defined grain is a better choice for furniture or larger items.
Keep reading for the most commonly used grains among engravers.
Basswood
This is one of the most popular types of wood for beginners. It’s easily found throughout the United States. Because it has almost no grain and is relatively soft, it’s the perfect wood to learn on.
Butternut
This brown wood is ideal for beginners. It’s very nice when polished and as a softwood that is easy to find and relatively cheap, it’s the perfect wood to learn on.
Aspen
Aspen is stronger than Basswood but still fairly soft. This is another type of wood that is easy to find and that is inexpensive.
Black Walnut
Black walnut is slightly more expensive than Basswood or Aspen and needs to be worked with sharper tools and a mallet for detail work.
Oak
Oak is a wood that is often used to make furniture. It has a well-defined grained and is relatively hard.
Choose Your Tools
You can either choose to hand carve with a variety of different tools or, if DIY wood engraving is something you want to invest in, consider purchasing an Inventables, which is the world’s easiest design and automatic wood carving and engraving software.
If you just want to stick to handheld tools, here’s what you need.
Chip Carving Knife
This tool is primarily used for whittling and chip carving. This won’t give you as smooth of a finish as an Inventables machine, but it does provide a hand-crafted look.
U-Gouges
These knives have a curved edge and come in a variety of sizes. They can be used to take away different sizes and depths of wood to get closer to the desired size.
V-Gouges
Similarly to the U-Gouges, V-Gouges have a V-shaped knife and are ideal for more detail work than the U-Gouge.
Skewed Chisel
This chisel has a flat edge and slants back at a 45-degree angle. It’s ideal for controlled chiseling and is a tool that every beginning carver needs in their bag.
Mallet
You really only need a mallet if you’re working with large pieces of wood that you need to break up. A mallet requires precision to successfully use in detail work.
Get Started with DIY Wood Engraving
Now that you know just how easy it is to do DIY wood engraving and what tools and wood you need to get started, keep learning! We have everything you need to create a warm and comfy home, from coffee station placement and home garden design to ceiling decoration and orchid plant care. Keep reading to discover all you need for the perfect home!