Easter is a time of celebration and tradition, and one of the most delightful traditions is dyeing Easter eggs. While commercial egg dyes are widely available, many people are turning to natural dyes made from fruits, vegetables, and spices for a more environmentally friendly and creative approach. Natural dyes not only offer a beautiful array of colors but also provide a fun and educational activity for the whole family. Here’s a comprehensive guide on how to dye Easter eggs with natural ingredients.
Ingredients and Materials
To get started, gather the following materials and ingredients:
• White eggs: These take on dye colors more vividly than brown eggs.
• Natural dye sources:
◦ Red: Beets or red onion skins
◦ Orange: Yellow onion skins
◦ Yellow: Turmeric
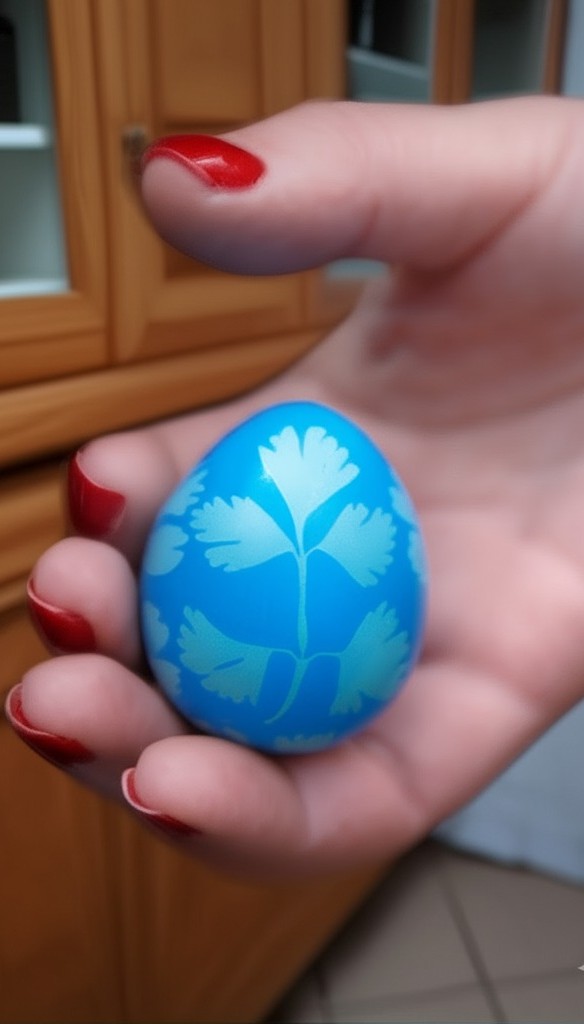
◦ Blue: Red cabbage
◦ Purple/Violet: Blueberries
• Vinegar: Helps the dye adhere to the eggshells.
• Water: For boiling the dye ingredients and eggs.
• Salt: Enhances the dyeing process (optional).
• Cooking pots: For boiling the ingredients and eggs.
• Strainer: To remove solids from the dye solution.
• Containers: For soaking the eggs in the dye.
Steps to Create Natural Dyes
1. Prepare the Ingredients: Chop or shred your chosen dye source. For example, chop beets for red dye or shred red cabbage for blue dye. Use about one cup of chopped produce per quart of water.
2. Boil the Dye: Place the prepared dye ingredients in a saucepan and add one quart of water, one tablespoon of vinegar, and one tablespoon of salt. Bring to a boil, then reduce the heat and simmer for 30 minutes.
3. Strain the Dye: Remove the saucepan from heat and let it cool to room temperature. Strain the mixture to remove solids, reserving the liquid dye.
Dyeing the Eggs
1. Boil the Eggs: Use a separate pot to hard-boil the eggs. Let them cool before dyeing.
2. Soak the Eggs: Place the cooled eggs in containers filled with the prepared dye. Leave them to soak until the desired color is achieved. For more vibrant colors, let the eggs soak overnight in the refrigerator.
3. Finishing Touches: Once the eggs have reached the desired color, remove them from the dye and let them dry on a wire rack. For a shiny finish, rub each egg with a little vegetable oil.
Tips and Tricks
• Experiment with Colors: Mix different natural dyes to create unique colors. For example, combining turmeric and red cabbage can yield green shades.
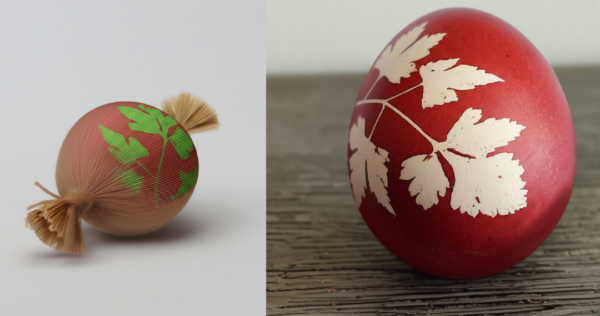
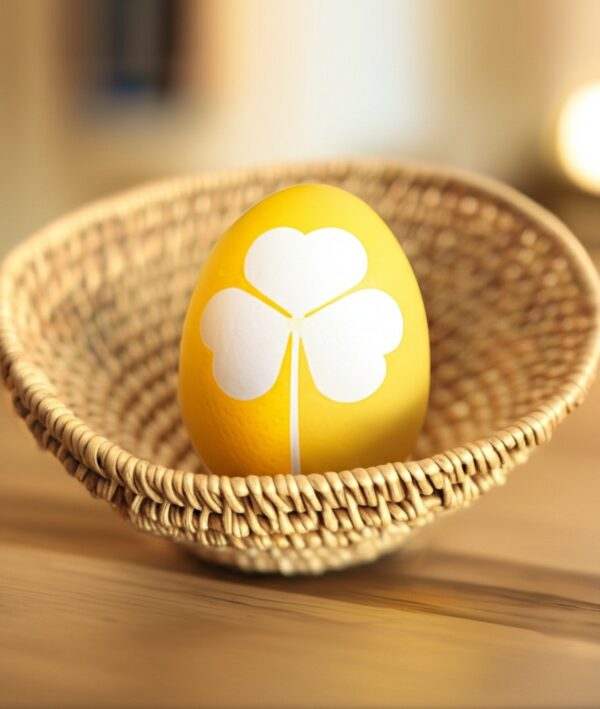
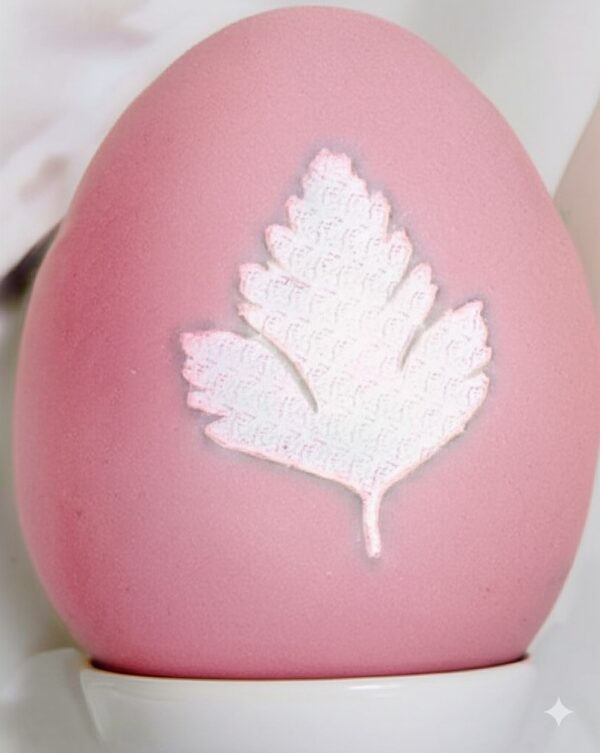
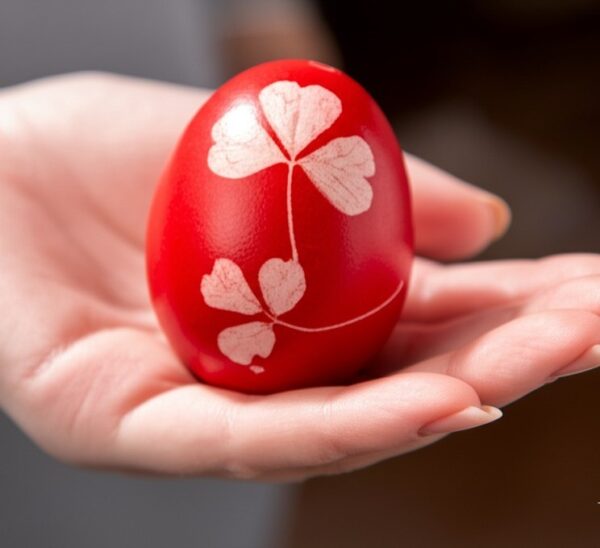
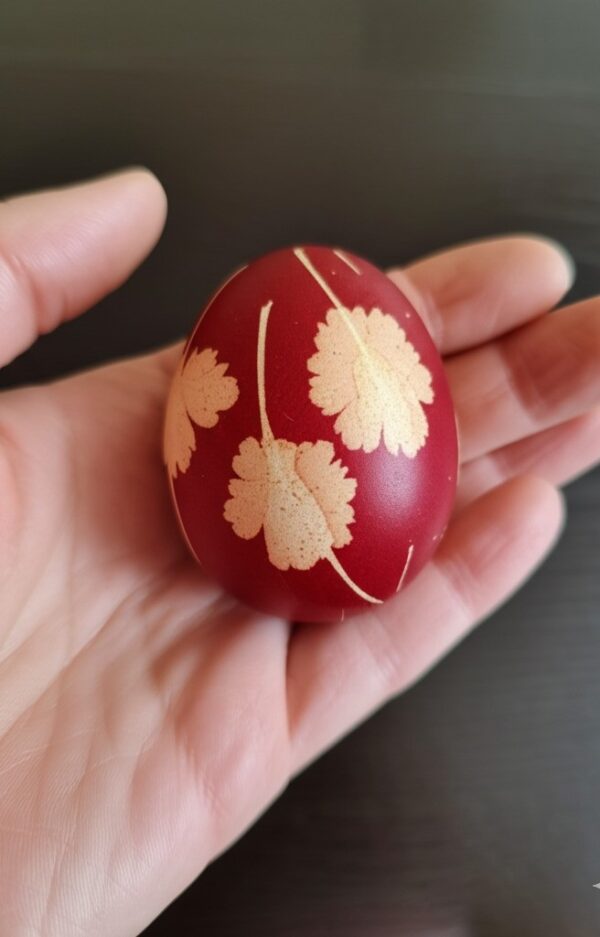
• Designs and Patterns: Before dyeing, wrap eggs with leaves and secure them with nylon stockings for beautiful patterns.
• Environmentally Friendly: Use kitchen scraps like onion skins and cabbage cores to minimize waste.
Additional Techniques:
◦ For a natural dye effect, wrap eggs with petals inside old nylon stockings and tie them securely with yarn. Submerge the egg in a dye bath made from natural ingredients like onion skins or purple cabbage for added color.


Conclusion
Dyeing Easter eggs with natural dyes is a rewarding tradition that combines creativity with sustainability. Not only does it offer a more natural alternative to artificial dyes, but it also engages everyone in a fun and educational process. Gather your family and friends, explore the colors of nature, and create beautifully dyed eggs to celebrate Easter in an eco-friendly way.


