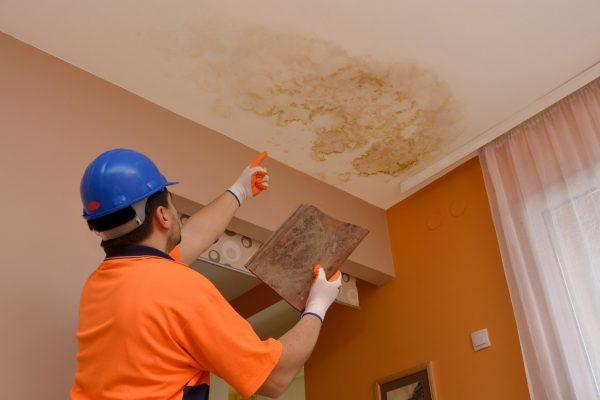
It’s like a scene from a horror movie…
You’re sitting innocently on your couch when, suddenly, a mysterious substance drips down onto your head. You look up to find an ugly, gaping hole in your ceiling! Luckily, this scene doesn’t have to turn into a feature film. Armed with a few tools and some bravery, for those who are afraid of heights, you can have your house leak-free in no time!
Here are some tips on how to repair a leaky roof…
Sneaky Shiners
A shiner is a nail that missed the rafter beam and is protruding into empty space. On cold nights, moisture condenses on the exposed metal, causing it to frost up. When the nail heats up the next day, the frost melts and drips down onto your ceiling. Luckily, this roof leak repair is a breeze. Simply grab some side-cutting pliers and cut off the exposed metal.
Damaged Shingles
If your shingles are damaged or curling, you’d better get that fixed before the next rainstorm hits. Curled shingles can be fixed with roofing cement. Brush cement on the underside of the shingle, making sure you brush into the corners. Hold the edges firmly in place until the cement dries. Rotten or cracked shingles will need to be replaced as they can also cause a leaking roof. Lift the edges of the shingle, and extract the nails with a pry bar. Remove the old shingle and slide a new one into position. Secure the shingle with galvanized roofing nails in each corner. Cover the heads of the nails with a roofing cement to protect them from the elements.
Leaky Vent Boots
A roof leak can also be caused by plumbing vent boots or roof vents. Broken seams in the metal, a cracked rubber boot, or a faulty gasket may be the source of the problem. If this is the case, you should remove the damaged boot and replace it. You will need to remove the shingles around the boot in order to work it free. You’ll want to reuse these shingles, so be careful when prying them off. Screw the new vent boot down with washer-head roofing screws. Visit here for more roofing repair and installation advice.
Where There’s Smoke, There’s Fire
Brick chimneys are notoriously sturdy, often outlasting the rest of the house. Unfortunately, the mortar between the bricks and the seal around the base are less reliable. Mortar can erode and crumble as it ages. Inspect the top of the chimney, as well as the joins between bricks for signs of damage. For an easy roof leak fix, simply add new mortar to cracked areas to fill and seal the holes. If water is leaking in through the base of your chimney, the flashing is probably to blame. If your flashing is rusted, it’s best to rip up the old stuff and install new flashing. Make sure the new flashing is nailed down firmly and properly sealed.
Now You Know How to Repair a Leaky Roof
By keeping a keen eye on the common problems we’ve listed, you can keep your home dry and protected. If a leak does spring up, you’ve got the knowledge of how to repair a leaky roof.
Browse through our other articles for more DIY and Craft ideas.