The biggest Christian holiday Easter is approaching and you probably thinking about how to paint and decorate Easter eggs this year. In the past, eggs were painted with onion peel and parsley and painted with wax and plant leaves, but today there are many new and fun techniques that give beautiful results. Here are some of them, so you can choose how to decorate your Easter eggs.
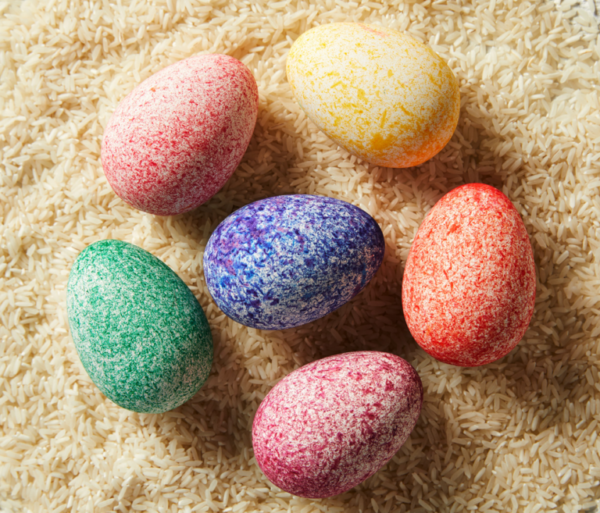
Rice technique
This is another easy and simple technique for decorating eggs. For this technique, you need a small thicker bag, rice, liquid paint for eggs or cakes and protective gloves. Put two or three tablespoons of rice in the bag, add a few drops of the dye and mix well to color the rice. Then put an egg in the bag and shake it with the rice. Use a different bag and rice for each different color. You will get beautiful eggs decorated with hundreds of small dots.
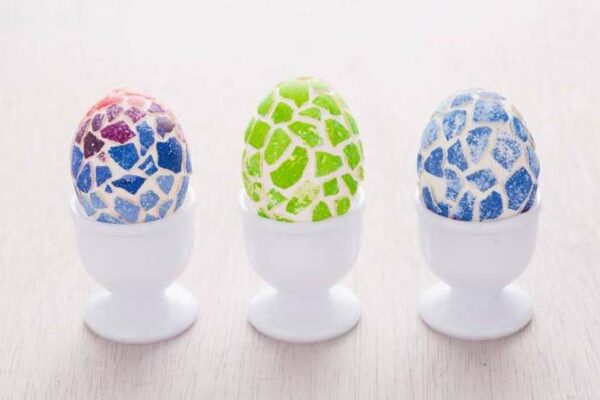
Mosaic technique
For this type of egg painting, you need standard egg paints, which dissolve in cold water and insulating tape. After you boil the eggs, paint them in one color. We suggest painting them with a lighter color. Then dry the eggs. From the insulating tape cut small pieces in different shapes – triangles, circles… and glue them to the eggs, leaving space between the pieces. Then paint the eggs thus prepared in a darker color than the previous one and leave them to dry. Finally, remove the pieces of tape and you will get beautiful mosaic eggs.
Decoupage technique
Decoupage is one of the easiest and most interesting techniques for decorating Easter eggs. In addition to boiled eggs (preferably white), all you need are colorful napkins, scissors, whipped egg whites, a small brush, and a little love and good mood. While the eggs are cooking. From the napkins cut small details like bunnies, flowers, petals, ducklings or whatever. Beat the egg whites and get started. Brush the part of the egg where you want to glue the pattern. Place the pattern and gently apply another layer of egg white with the brush, just enough to completely soak the napkin. To dry faster, it is best to do this technique on warm (not hot) eggs.

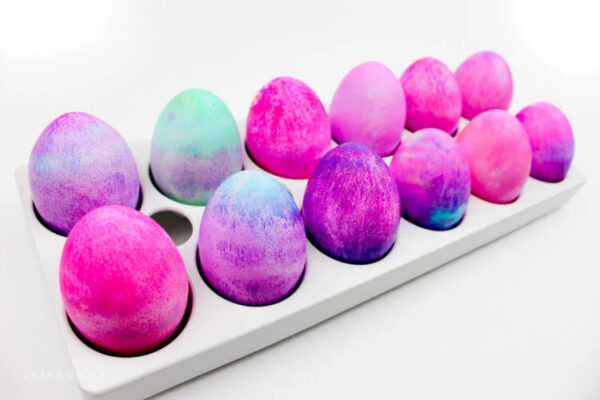
Shaving foam technique
With this technique you can’t make a mistake when decorating your Easter eggs, so we recommend including your children, who we believe will enjoy it. For this technique, you need liquid paints for eggs or cakes, shaving foam, an old cloth or a piece of cardboard, on which you will place the eggs, a deep utensil, kitchen wipes or napkins and protective gloves. In a deep bowl, filled with shaving foam, place a few drops of the paint on it. Smear the eggs in the foam (which you have previously wiped from the water) and place them on the cardboard (15 minutes) to dry. Then gently remove the foam with a kitchen towel or napkin and you will get beautifully decorated eggs.